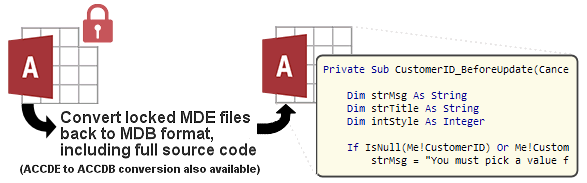
IN THE SPOTLIGHT: MDE to MDB Conversion Service
(also supports: ACCDE to ACCDB, ADE to ADP, etc)
IN THE SPOTLIGHT: Access Database Repair Service
An in-depth repair service for corrupt Microsoft Access files

IN THE SPOTLIGHT: vbWatchdog
VBA error handling just got easier...

" vbWatchdog is off the chart. It solves a long standing problem of how to consolidate error handling into one global location and avoid repetitious code within applications. "
- Joe Anderson,
Microsoft Access MVP
Meet Shady, the vbWatchdog mascot watching over your VBA code →
(courtesy of Crystal Long, Microsoft Access MVP)
IN THE SPOTLIGHT: vbMAPI
An Outlook / MAPI code library for VBA, .NET and C# projects
Get emails out to your customers reliably, and without hassle, every single time.

Use vbMAPI alongside Microsoft Outlook to add professional emailing capabilities to your projects.
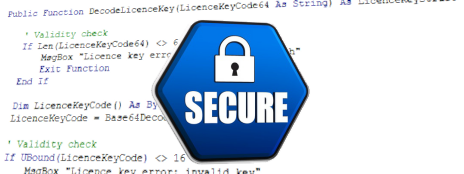
IN THE SPOTLIGHT: Code Protector
Standard compilation to MDE/ACCDE format is flawed and reversible.
Provided by Allen Browne. Created: 1995. Last updated: August 2008.
Here are two methods to limit the records in a report to a user-specified range of dates.
For a more comprehensive example that combines other criteria with the dates, see Search Criteria database.
The simplest approach is to base the report on a parameter query. This approach works for all kinds of queries, but has these disadvantages:
To create the parameter query:
>= [StartDate] < [EndDate] + 1
    StartDate    Date/Time
EndDate Date/Time(Note: Step 3 is optional, but strongly recommended. It prevents invalid dates being entered, and helps Access understand the date regardless of your regional setting date format.)
The alternative is to use a small unbound form where the user can enter the limiting dates. This approach may not work if the query aggregates data, but has these advantages:
Here are the steps. This example assumes a report named rptSales, limited by values in the SaleDate field.
Private Sub cmdPreview_Click()
'On Error GoTo Err_Handler      'Remove the single quote from start of this line once you have it working.
    'Purpose:       Filter a report to a date range.
    'Documentation: http://allenbrowne.com/casu-08.html
    'Note:          Filter uses "less than the next day" in case the field has a time component.
    Dim strReport As String
    Dim strDateField As String
    Dim strWhere As String
    Dim lngView As Long
    Const strcJetDate = "\#mm\/dd\/yyyy\#"  'Do NOT change it to match your local settings.

    'DO set the values in the next 3 lines.
    strReport = "rptSales"      'Put your report name in these quotes.
    strDateField = "[SaleDate]" 'Put your field name in the square brackets in these quotes.
    lngView = acViewPreview     'Use acViewNormal to print instead of preview.

    'Build the filter string.
    If IsDate(Me.txtStartDate) Then
        strWhere = "(" & strDateField & " >= " & Format(Me.txtStartDate, strcJetDate) & ")"
    End If
    If IsDate(Me.txtEndDate) Then
        If strWhere <> vbNullString Then
            strWhere = strWhere & " AND "
        End If
        strWhere = strWhere & "(" & strDateField & " < " & Format(Me.txtEndDate + 1, strcJetDate) & ")"
    End If

    'Close the report if already open: otherwise it won't filter properly.
    If CurrentProject.AllReports(strReport).IsLoaded Then
        DoCmd.Close acReport, strReport
    End If

    'Open the report.
    'Debug.Print strWhere        'Remove the single quote from the start of this line for debugging purposes.
    DoCmd.OpenReport strReport, lngView, , strWhere

Exit_Handler:
    Exit Sub

Err_Handler:
    If Err.Number <> 2501 Then
        MsgBox "Error " & Err.Number & ": " & Err.Description, vbExclamation, "Cannot open report"
    End If
    Resume Exit_Handler
End Sub
Now when you click the Ok button, the filtering works like this:
You will end up using this form for all sorts of reports. You may add an option group or list box that selects which report you want printed, and a check box that determines whether the report should be opened in preview mode.
| Home | Index of tips | Top |
Rate this article: 
This is a cached tutorial, reproduced with permission.
Have your say - comment on this article.
What did you think of 'Limiting a Report to a Date Range'?
1. | Alek says... | 14 Aug 2010 |
Excellent article. Gave me a great push-start after days of searching for the right information. Now just have to figure out how to apply more criterias to it :) . | ||
iTech Masters | VAT: GB202994606 | Terms | Sitemap | Newsletter


